The city makes more sense on two wheels. Learn the habits that keep your commute smooth and your bike where you left it.
Read the lane before the map
Navigation apps can suggest a route, but the street still has the final word. Follow bicycle signals, yield markings and one-way signs. At busy junctions, predictable movement is safer than sudden politeness: hold your line, look over your shoulder, signal before turning and avoid stopping in the flow.
Learn the markings before your first rush-hour ride. White triangular “shark teeth” pointing towards you mean that you must give way. Red asphalt usually identifies cycling space, but colour alone does not give you priority at the next junction. A no-entry sign applies unless a supplementary plate explicitly exempts cyclists, and a bicycle street does not cancel the signs and markings at its intersections.
Use lights after dark, at twilight and in poor visibility. Dutch rules prohibit holding a phone or other electronic device while riding. A phone may be used in a mount, but set the route before moving; if you need to type or study the map, pull completely out of the lane. Hands-free audio is legal, but keep the volume low enough to hear bells, buses and approaching traffic.
Rehearse one route before riding it under pressure
Do the first trip outside the morning peak. Ride from your door to the exact faculty entrance, workplace or station rack, not just to the destination pin. Notice narrow bridges, bus stops, construction diversions and places where pedestrians cross the cycle path. Groningen Bereikbaar publishes a live “Slimme Kaart” with roadworks and diversions; check it again when a familiar route suddenly looks closed.
- Set the route and weatherproof the phone before unlocking the bike.
- Check that both brakes respond before joining traffic.
- Test the front and rear lights, even if you expect to return before dark.
- Ride the route once at a calm pace and identify one simple alternative.
- Add parking and walking time to the journey estimate.
During the actual commute, ride far enough from parked cars to avoid opening doors and do not overtake a turning vehicle on the side into which it is turning. At crowded junctions, wait behind the stop line and leave room for riders using a different direction. Copying the fastest cyclist is not a substitute for reading your own signal.
Use a legal light setup, not merely a visible one
The required front light is white or yellow and the rear light is red. Both must shine steadily rather than flash. Loose lights are permitted when they point straight ahead or behind and remain unobstructed; they may be attached to the chest, back or a bag, but not to the head, arms or legs. A standard two-wheel bicycle also needs a red rear reflector, white or yellow reflectors on its wheels or tyres and amber-yellow reflectors on its pedals.
Make the check physical: stand several metres in front of and behind the loaded bicycle. A coat, crate or backpack can hide a lamp that appeared fine indoors. Keep a small spare light set in the bag, but replace the failed fixed light instead of treating the spare as a permanent excuse.
- Turn lights on in darkness, twilight and poor weather or visibility.
- Aim the front lamp towards the road so it does not dazzle others.
- Replace weak batteries before autumn rather than after the first dark ride.
- Check the official light rules if you add non-standard decorative lighting.
Lock the frame to something solid
A frame lock is only the first layer. Add a substantial chain or U-lock through the frame and an approved fixed rack. Two different lock types require different tools and make the bicycle less attractive than a nearby one secured with a single lock. Include a wheel when the lock reaches, but never secure only a removable wheel.
Keep the chain away from the ground, where it is easier to attack, and leave as little free space as practical inside a U-lock. Park in a busy, well-lit place when you return late. A shared shed is not automatically secure: lock the bicycle inside it as well.
On purchase day, save the frame number, make, model, colour, receipt and clear photographs of both sides. Photograph distinctive scratches and accessories, then update the image after adding a crate or replacing a saddle. Before buying second-hand, check the frame or serial number through the police-linked Stop Heling or RDW bicycle-theft register and keep a written proof of purchase.
Park by Groningen's clock
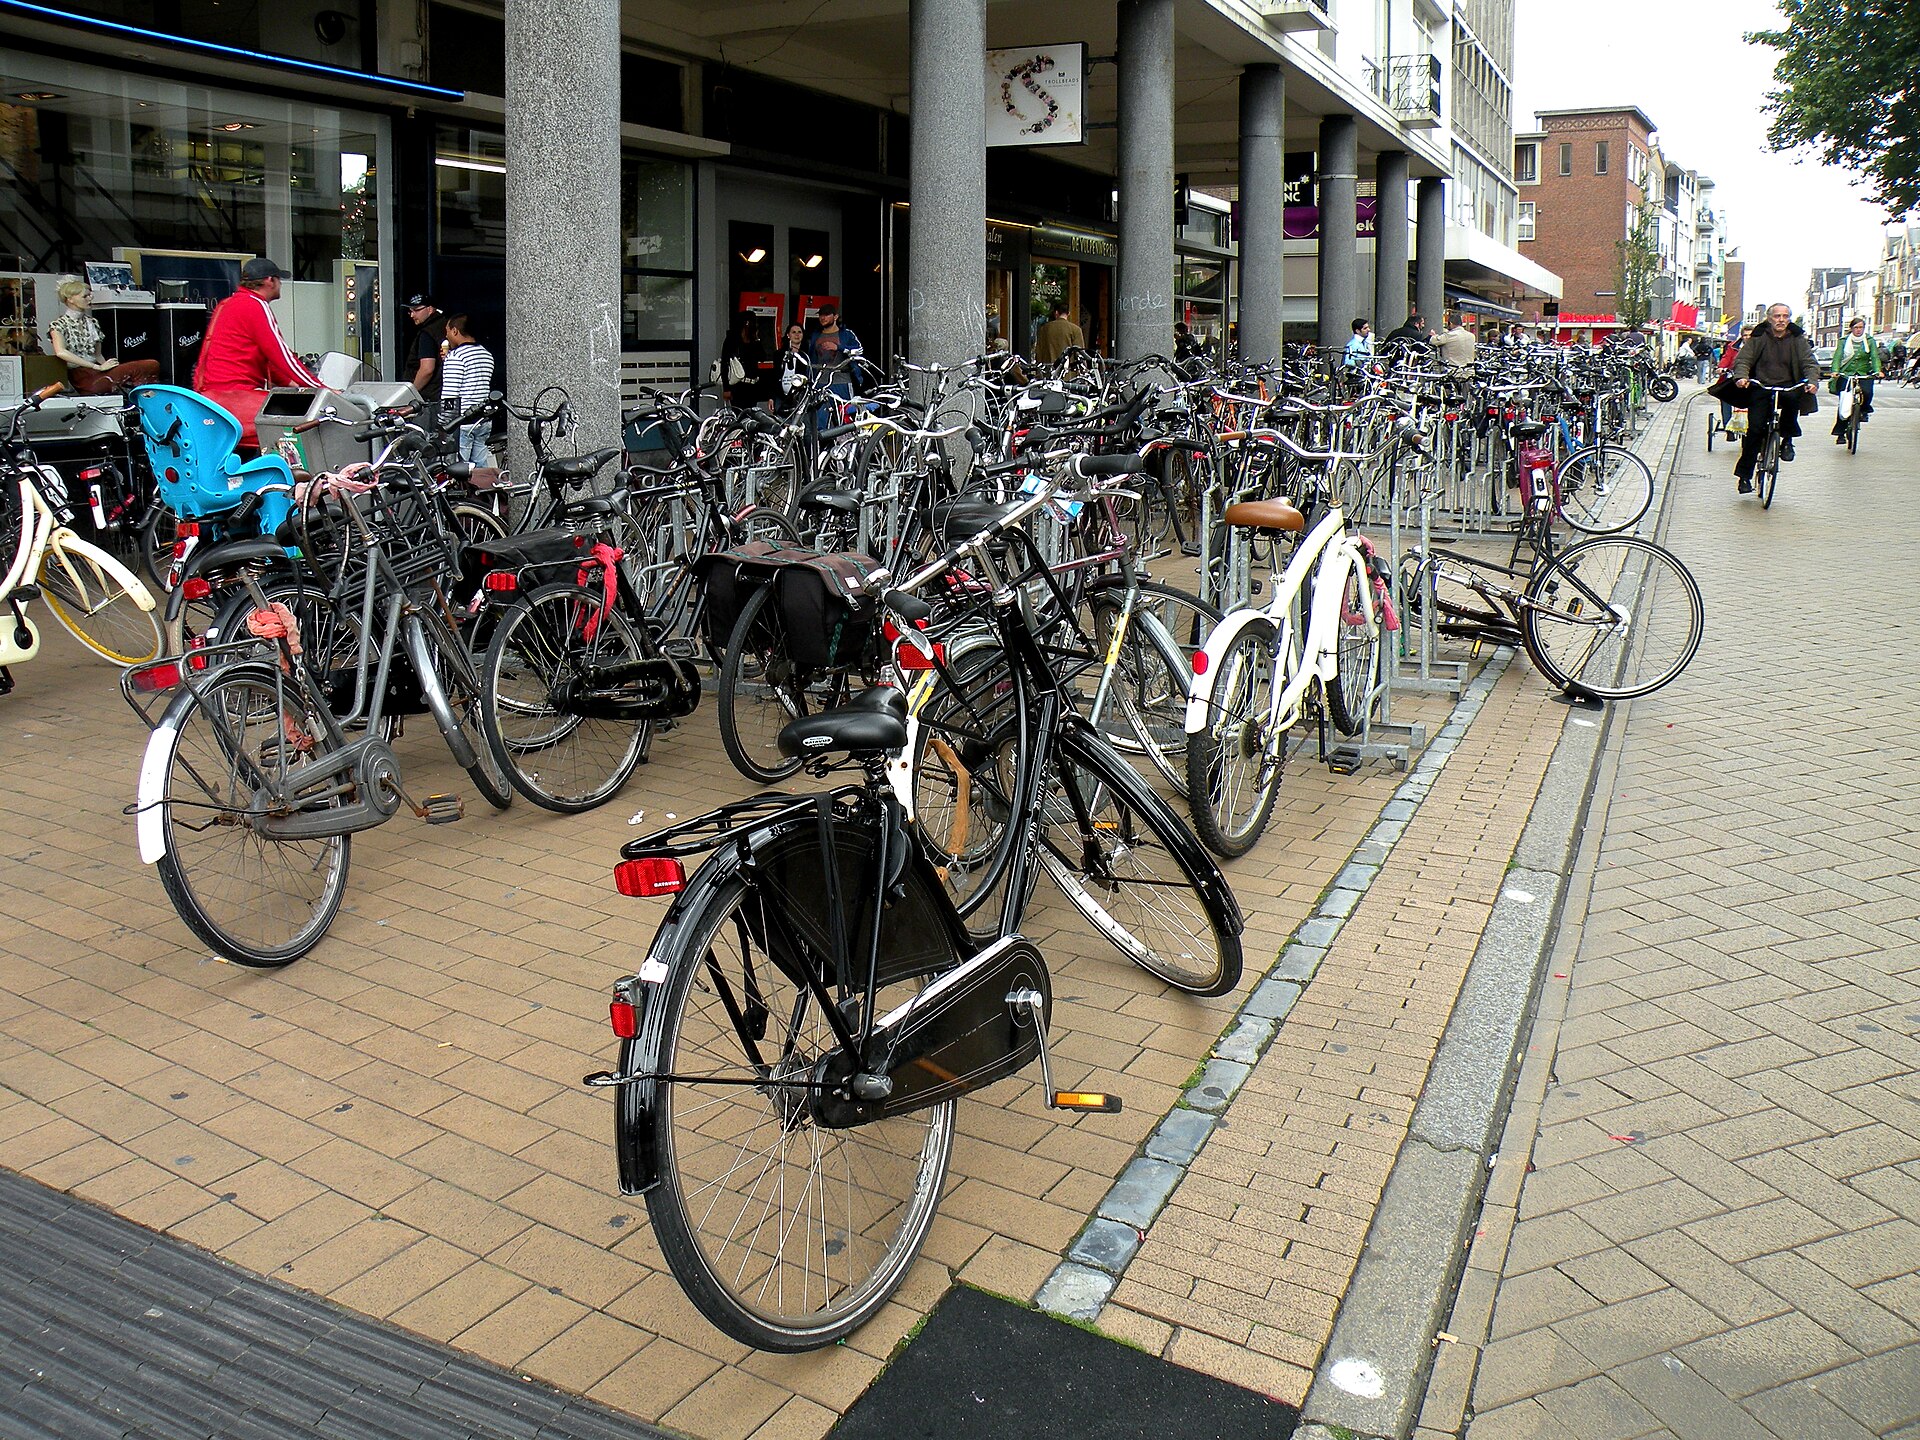
In the municipality's red parking areas around the city centre and stations, use a rack, marked bicycle bay or storage facility and do not leave the bicycle for more than 12 days. In the pink-striped area around the centre, the published maximum is 28 days. These are maximum periods, not permission to block entrances, tactile paving or emergency routes.
At supervised NS station facilities, the first 24 hours are free at most locations, but the local price after that must be checked for the specific facility. NS sets a maximum stay of 28 consecutive days and may remove bicycles left longer. Check in and out correctly with the accepted card even when the first period is free.
If the bicycle disappears from a restricted city-centre location, do not assume theft immediately. Groningen states that a bicycle removed from the centre may be collected free from the Ossenmarkt depot during the first 24 hours. Other removed bicycles go to the Ulgersmaweg depot, where the current collection charge is €25 and the collection period is four weeks. Check the municipality's current removed-bicycle page before travelling because the depot route and conditions can change.
- Search the exact row and nearby racks in daylight.
- Check signs, parking-zone rules and the municipal removal process.
- Take identification, the key and proof that the bicycle is yours when collecting it.
- If no official removal record matches, report likely theft with the frame number and photographs.
Rain is a system, not an emergency
A breathable rain jacket, a dry bag or backpack cover and a small towel solve most wet commutes. Keep rain trousers and dry socks at the place where you study or work instead of carrying an entire wardrobe every day. Check the wind as well as the rain: an exposed bridge can change a comfortable trip into a slow one.
Brake earlier and more gently, keep extra distance and avoid sharp steering over wet leaves, metal covers, bridge joints and painted markings. Lower speed before the slippery surface rather than braking hard on it. Do not shelter under an overpass or shop awning in a way that blocks the cycle lane.
- Add five to ten minutes instead of trying to maintain a dry-weather pace.
- Dry and lubricate a squeaking or rusty chain after repeated wet rides.
- Let wet lights and batteries dry before storing them in a closed bag.
- Choose public transport when ice, extreme wind or visibility makes cycling unsafe.
Build a maintenance habit before something breaks
Set a monthly five-minute check for tyre pressure, brake response, chain movement, lights and loose parts. Use the pressure range printed on the tyre sidewall rather than guessing a universal number. Spin each wheel, squeeze each brake separately and stop riding if the lever reaches the handlebar, the wheel rubs badly or the steering feels loose.
Small faults are cheaper and safer to correct before a wet commute turns them into a breakdown. As a real Groningen benchmark, Fietscentrum Bus currently lists workshop labour at €80 per hour including 9% VAT. Its published time schedule puts a 45-minute city-bike maintenance service at €60, an inner-tube repair at 15 minutes or €20, a front-brake cable at 10 minutes or €13.35 and a rear-brake cable at 15 minutes or €20. Parts and additional dismantling can cost extra, so ask for a quote before authorising work; these are one shop's published prices, not a city-wide tariff.
- Every week: squeeze the tyres, test both brakes and confirm that the lights work.
- Every month: inflate to the tyre's stated range, lubricate the chain and check for loose bolts or wheel play.
- After a collision or hard kerb strike: inspect the wheel, fork, handlebar and brakes before riding again.
- Before winter: replace weak batteries and ask a mechanic to assess worn tyres and brake parts.
Treat an e-bike as a bicycle only when it legally is one
A normal Dutch e-bike, including a legal fatbike, has pedal assistance up to 25 km/h, a motor rated at no more than 250 W and requires the rider to pedal. A throttle may only power the bicycle without pedalling up to 6 km/h. The same bicycle traffic, phone and lighting rules then apply as on an ordinary bike; a licence plate, driving licence and compulsory motor-liability insurance are not required.
A modified bike that assists above 25 km/h or uses a throttle above 6 km/h without pedalling is no longer a legal ordinary e-bike. If it has not been approved and registered in the appropriate motor-vehicle category, it may not be used on public roads. The Dutch government currently lists a €320 fine for riding such an unregistered modified bicycle and warns that it may be seized after repeated offences; insurance may also fail after a crash.
Do not accept “everyone rides it like this” from a seller. Ask for the motor rating, assistance cut-off and written proof of conformity. A removable battery should travel indoors with you when practical, but never leave the frame easier to steal while protecting only the battery.
Know the first ten minutes after a crash
Move out of continuing danger if you can do so safely, but do not leave an injured person or ride away without exchanging details. Call 112 when someone is injured or immediate emergency help is needed. Give first aid within your ability and follow the operator's instructions.
- Record names, contact details and insurer information for everyone involved.
- Photograph the positions, signs, road surface and damage before moving items, when safe.
- Ask witnesses for their names and telephone numbers.
- Complete a European accident statement or use MobielSchadeMelden.nl.
- Report the claim promptly; Slachtofferhulp advises doing so preferably within three days.
- Contact a GP if physical or stress symptoms appear, even when they seem minor at first.
Do not argue about legal liability in the cycle lane and do not sign a description you do not understand. Record facts, seek medical care and let insurers assess responsibility. For non-emergency police contact, including a driver who left the scene, use 0900-8844; use 112 for an emergency or a dangerous incident still in progress.
Use a one-minute departure check
- Route: construction checked and destination entrance confirmed.
- Ride: tyres firm, brakes responsive, chain moving normally.
- Visibility: front and rear lights working and not covered by luggage.
- Security: frame lock plus a second lock carried, with the key separate from the bicycle.
- Weather: rain layer packed and extra time allowed for wind or darkness.
- Backup: phone charged, emergency contact accessible and public-transport alternative known.
The aim is not to remove every risk from cycling. It is to make the safe action automatic before the street becomes busy, wet or unfamiliar. After a week, review the route, parking place and equipment based on what actually slowed or worried you, then change one weak point at a time.